Precision Roofing
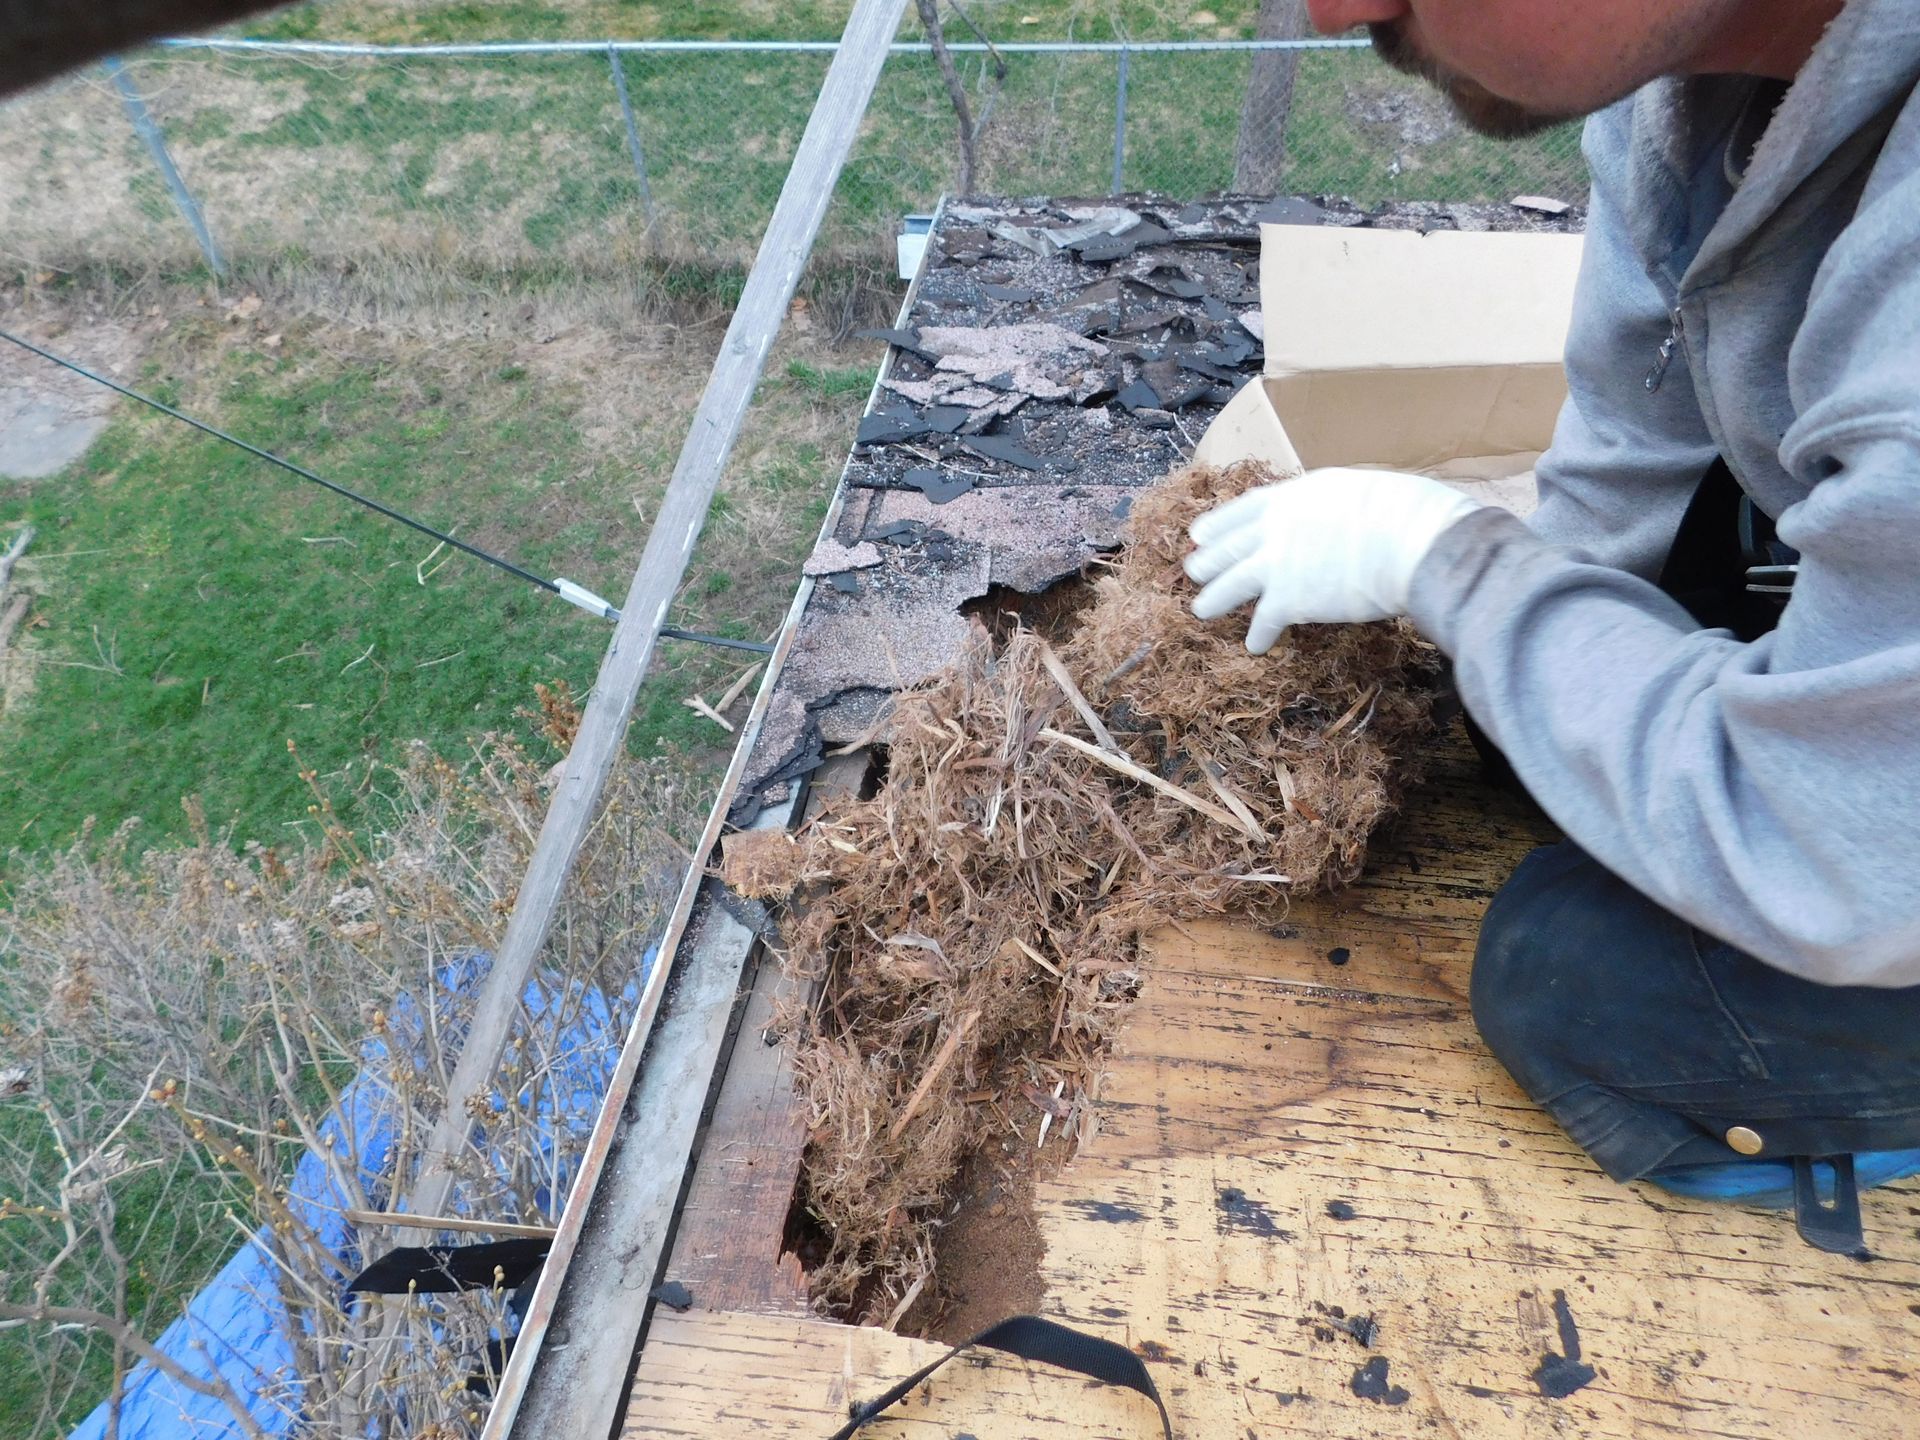
When it comes to your roof, you want precision work and to have a wonderful, non-invasive experience, but how does the normal layperson know the difference? We’re pleased to take the time to show you some pictures of what we do at Jared Langley Roofing and Remodel, to ensure your satisfaction and go past the “industry standard”. When most people hear the word “roofing”, they think, “shingles”. There are actually many steps involved in putting the perfect roof on your home or building. We’d like to explain the procedures, a bit more in depth to help manage expectations as well as help educate the correct and non-correct ways. We’ll use a typical re-roof as an example. Upon arrival, we typically place letters on all of the adjacent neighbors’ doors to let them know we’re in the area and to assist if they have any concerns themselves. After notifying your neighbors about noise, etc., we spread tarps across the ground under the roof removal areas. This helps us to keep a much better handle on the post project cleanup. The first step is the removal of the old shingles and making sure all of the sheathing (which is the boards or plywood underneath the shingles – also called the roof deck) is in good shape. We want to make sure the decking is of good enough quality that it will sufficiently hold the nails, which fasten the shingles to the roof deck. You don’t want any rot or damage on the decking because if the shingles aren’t fastened properly, you can have wind blow-off, not to mention truss or rafter problems. After everything’s been inspected and the roof deck has been “detailed” (cleaned of all extra nails, debris, etc.) the ice and water shield can be applied, the tar paper (felt/underlayment) can be applied, then the drip edge and finally, the roofing, or shingle installation can begin. Just a small explanation: The ice and water shield (by building codes) needs to be installed from the fascia (where the gutters are fastened) up to 24” inside the bearing wall. In the Northerly climates, we have ice damming, which is when the ice continues to rise up the roof, towards the heated portion inside (same principal as oil going up a candle wick to the flame (heat). The next step is to lay down the felt or underlayment above the ice and water shield, all the way up to the highest point on the roof. Prior to starting the shingle installation, we snap a chalk line every 2nd course, which can be seen in pictures “A” and “B”. It is our pleasure to go above and beyond standards to ensure the satisfaction of a job well done and our higher quality means, the higher the wind resistance for your roof and no more sleepless nights!
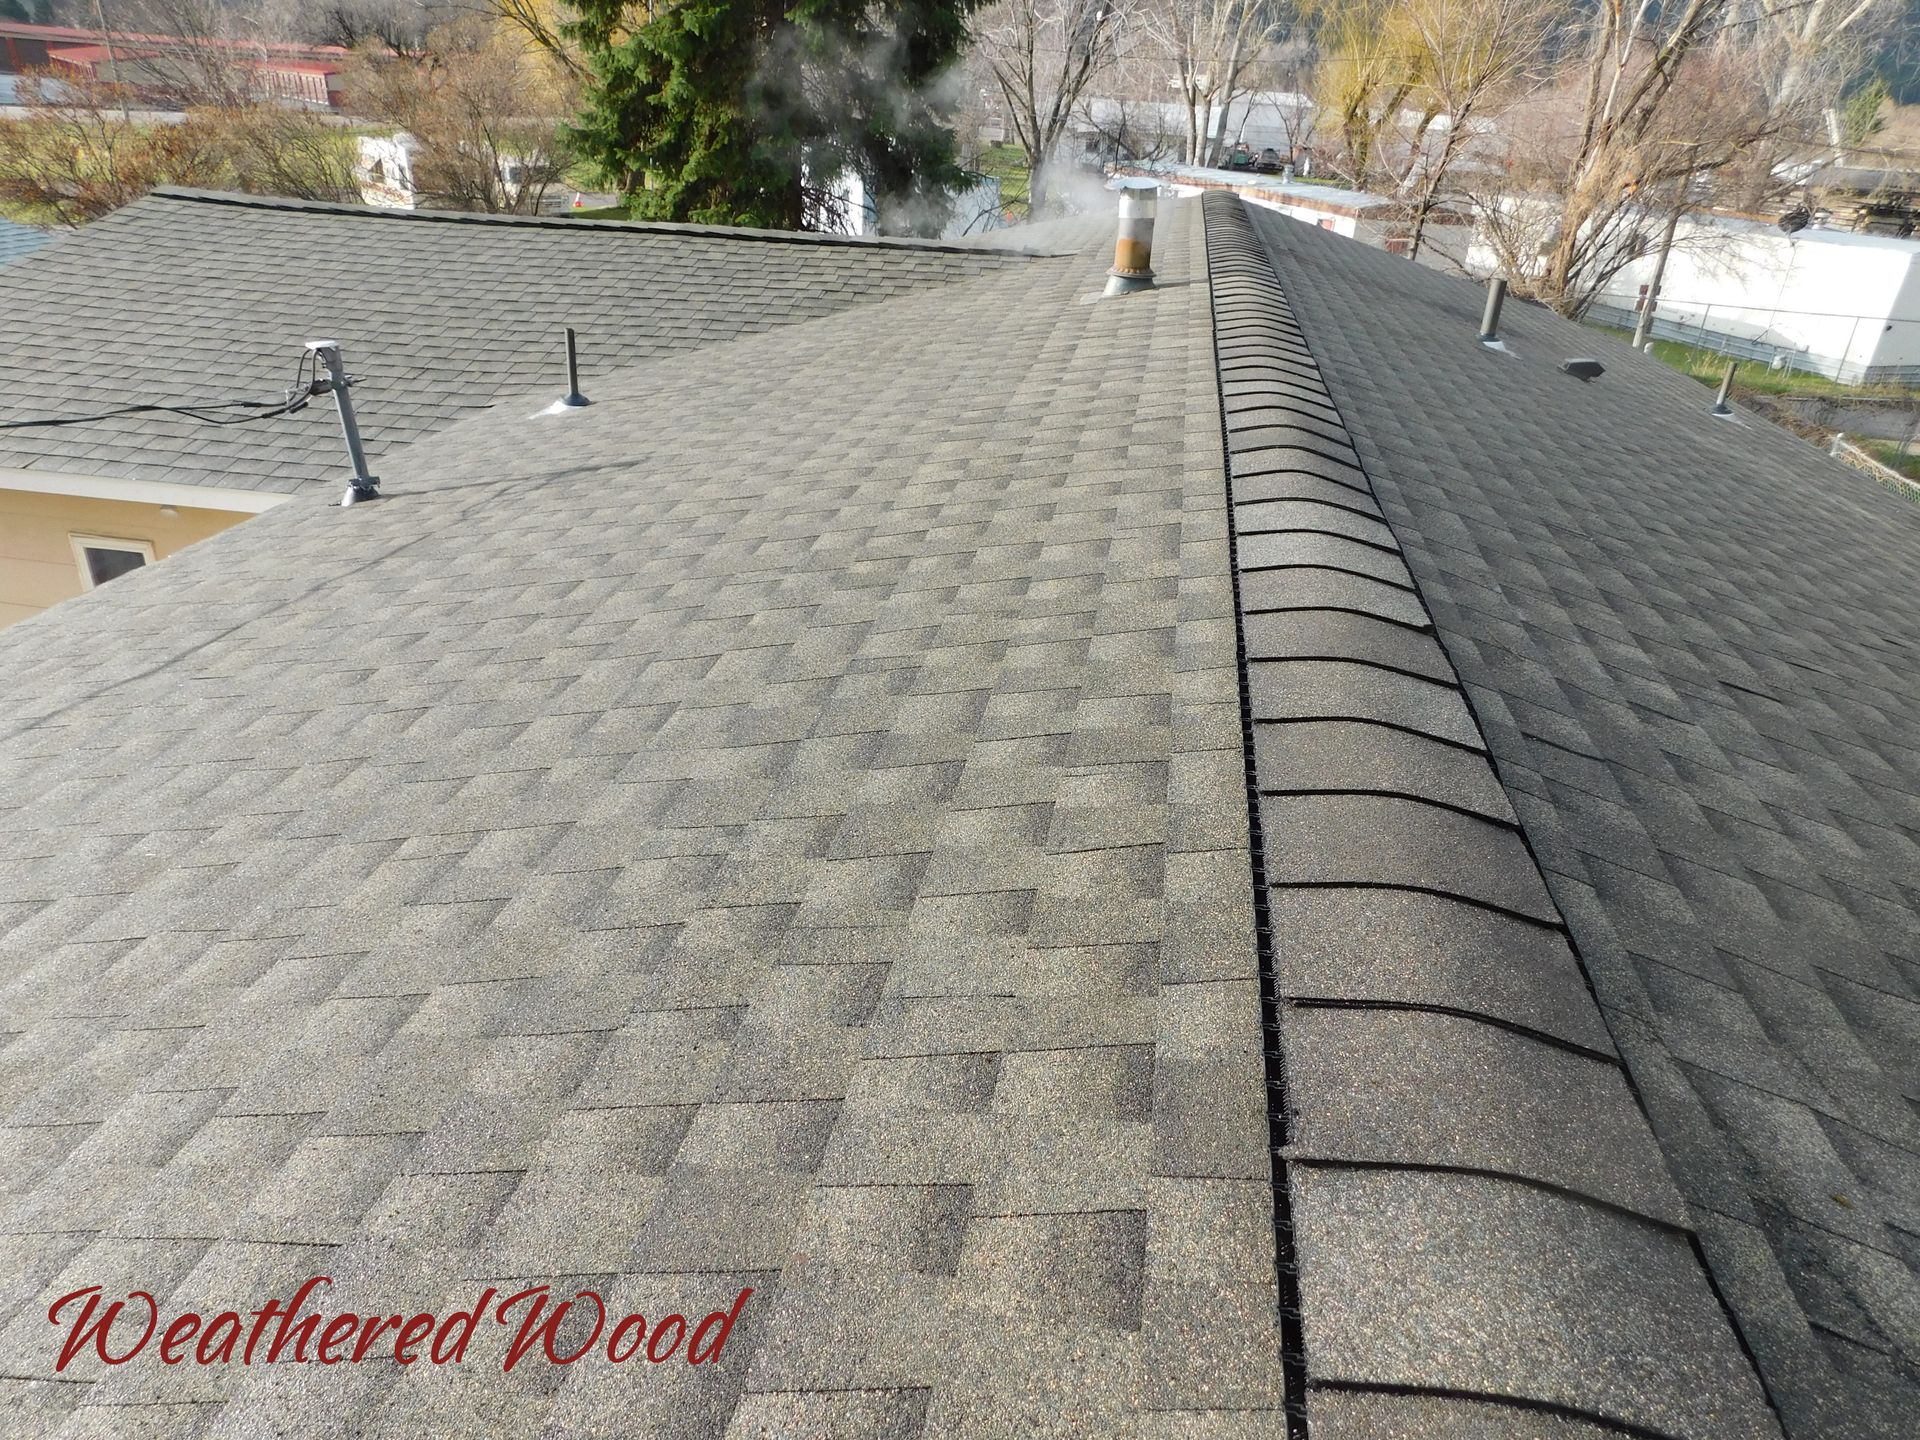
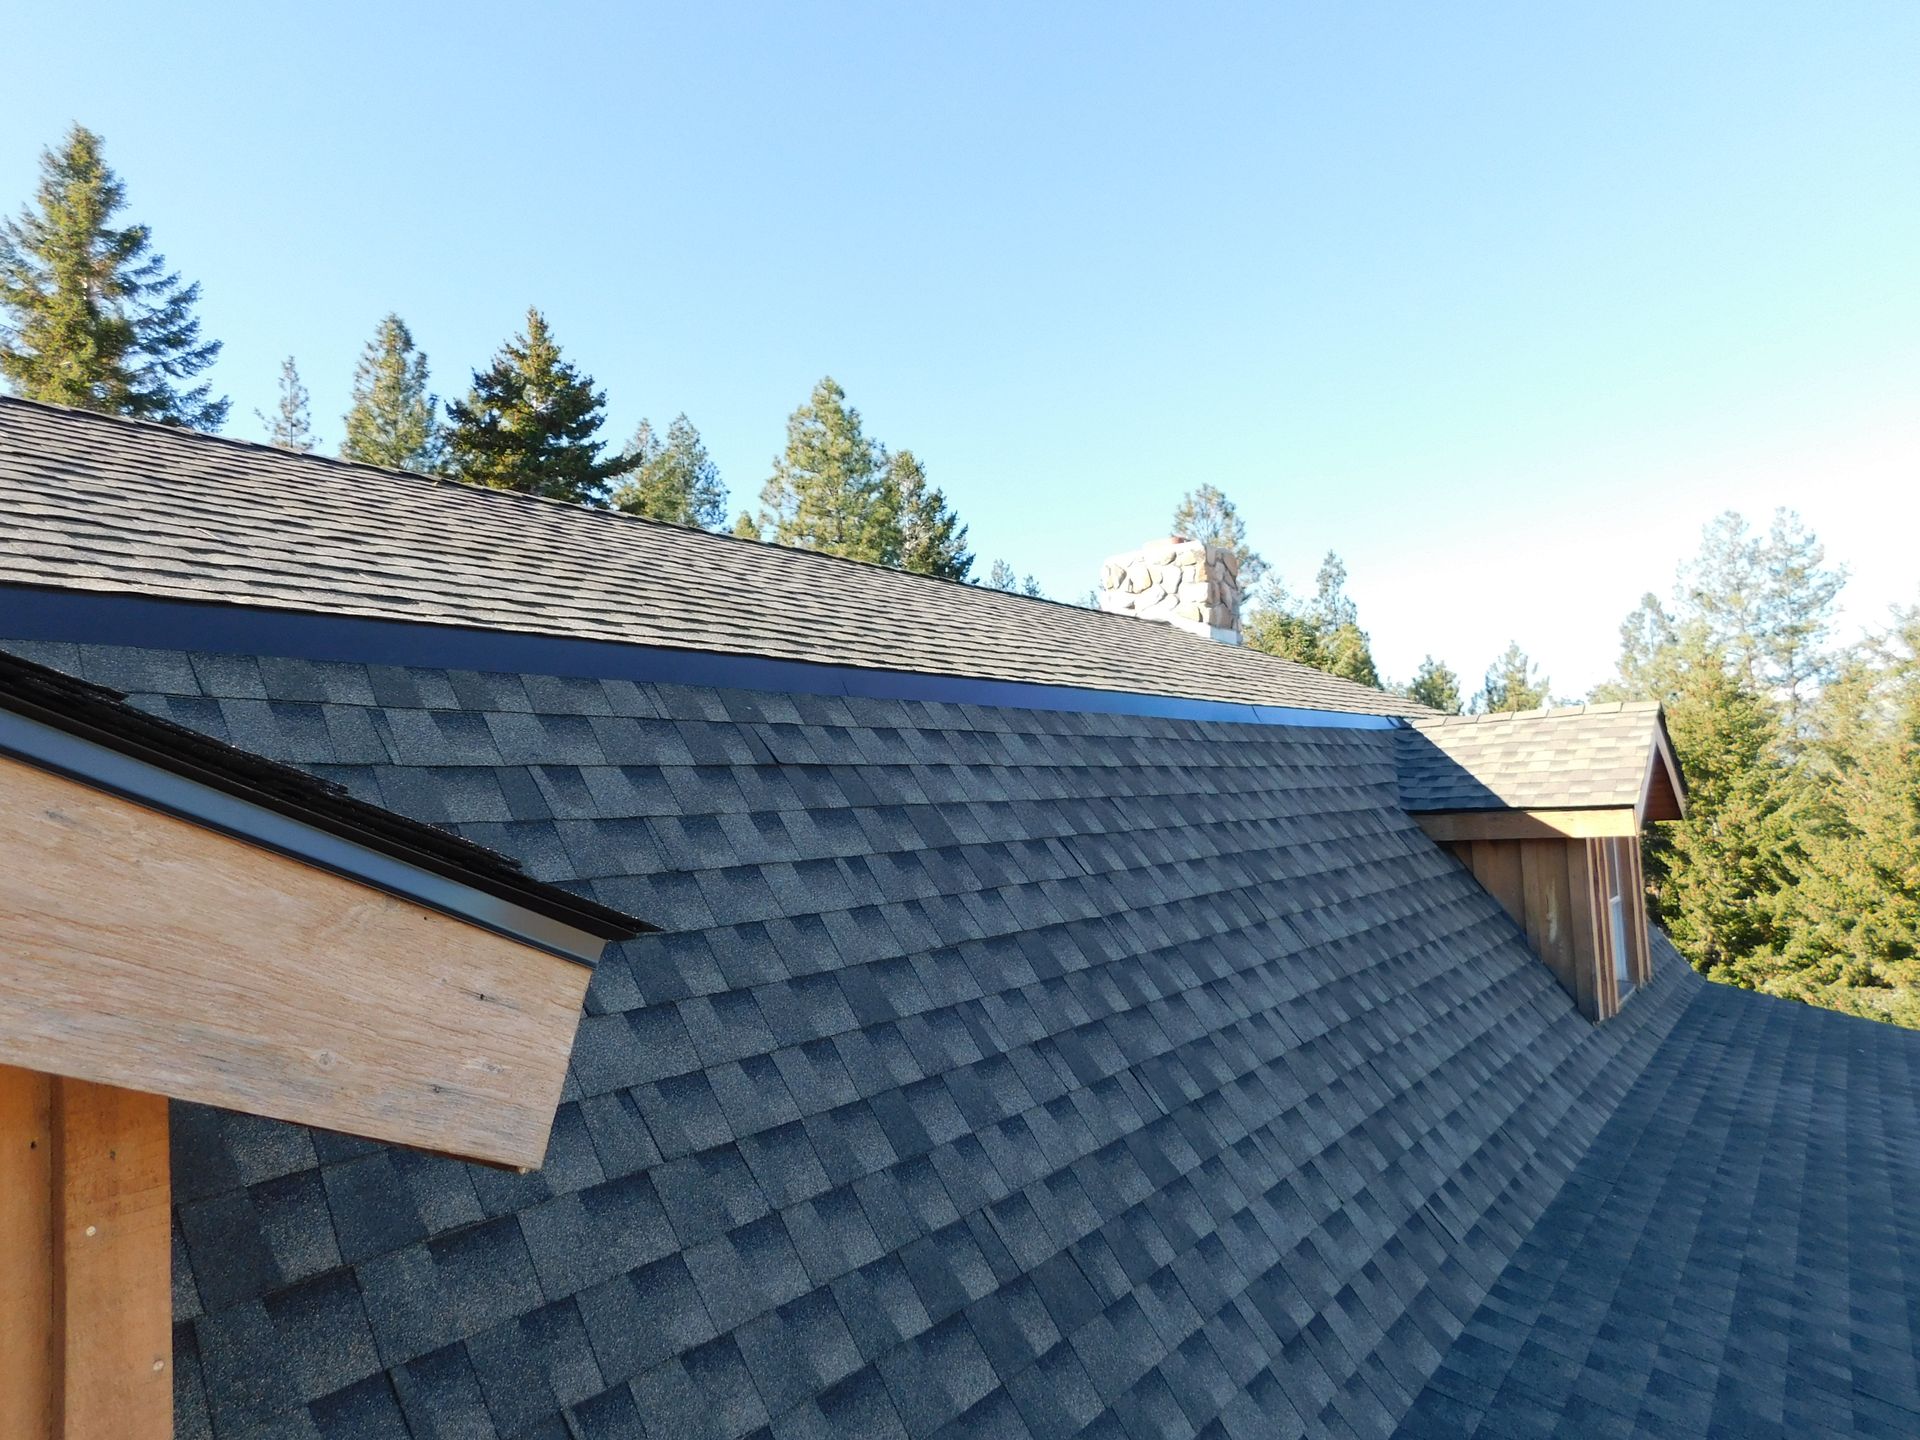
There are a few more terms we would like to help familiarize you with that are often referred to during a roofing job as well as above. The fascia is the band running horizontally under the roof edge. It’s the part visible to the everyday on-looker. Often times this is the part your gutters are hooked to. In picture “D” the fascia is the white board directly below the roof. The soffit is the finished and hopefully vented area you see when you look up from underneath. In picture “D” you can see the soffit as the portions the siding runs into. Another way to remember this is to think about the top of your head as the roof, your face as the fascia and the underpart of your chin as the soffit. The Ridge Cap is the very top of your roof where it comes to a point. Often times the Ridge cap helps to accentuate the beauty of your new roof. This can be seen in picture “C”. One of the most important steps to roofing is cleaning up everything on the job site. The goal is to leave your property looking just as good as it did when we got there, if not better. A friendly, hardworking staff can make a roofing experience so much better. We strive to be the best at what we do with keeping open lines of communication throughout your project, so you know what is going on every step of the way.